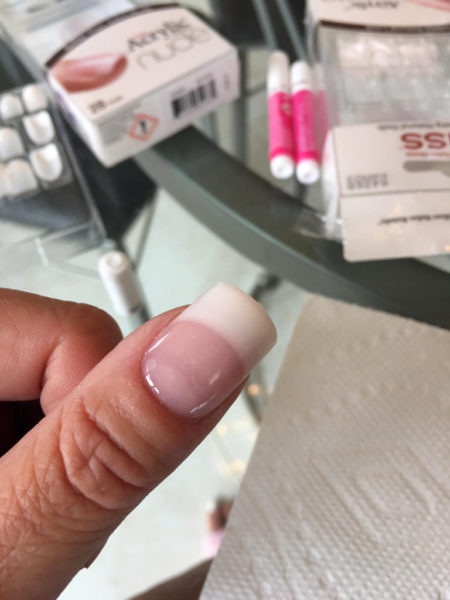
Kiss Salon Acrylic French Nude Manicure
Manicures and pedicures are always a good idea. I’ve been getting manicures for years and never attend an event without a proper manicure. In fact, manicures, pedicures, and lashes are a must for me, at all times. There’s just one thing. After about 15 years of getting acrylic nails, I suddenly found myself allergic to acrylic and gel nails. How did I know? All of a sudden my cuticles began to itch and swell within hours after the salon applied a full set of nails. The itch and the pain were unbearable and my cuticles swelled so bad the skin began to crack. Ouch! The very next day, I had the salon properly take them off.
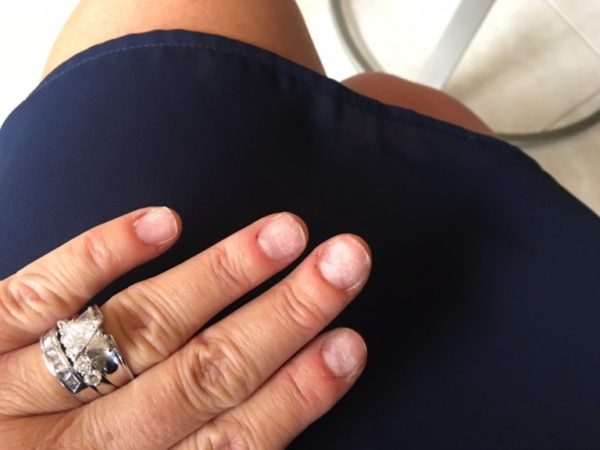
After a few years of letting them breathe and keeping them short and well-manicured with professional services, I’ve learned how to beat the allergy and still have beautiful nails. Now, I know short and polished are pretty and acceptable but I just don’t feel finished when my nails are short. Short nails just aren’t enough for me and let’s be honest, natural nails ten to break and I’m a perfectionist, and when a nail breaks, where’s the perfection?
My solution? Well after having a few years of allowing my nails to be “natural” where they are healthy and back to normal, I can do two things; apply acrylics for a special occasion only and take them off within a week or wear KISS glue on nails for two weeks with short breaks in between.
That’s right! Kiss glue on nails is a do-it-yourself alternative that lasts two weeks! I finally found a look I love for a small fraction of the price compared to acrylics without the pain and itchiness. If you love a good french manicure and the acrylic nail look like me, you will LOVE the Salon Acrylic French Nude Kiss glue on nails in medium length! As a working mom, I can clean, do the dishes, plant flowers (with gloves), type, and attend charity events and fashion shows with beautiful nails without worrying about them coming off or looking shabby. They always look great and for two weeks straight!
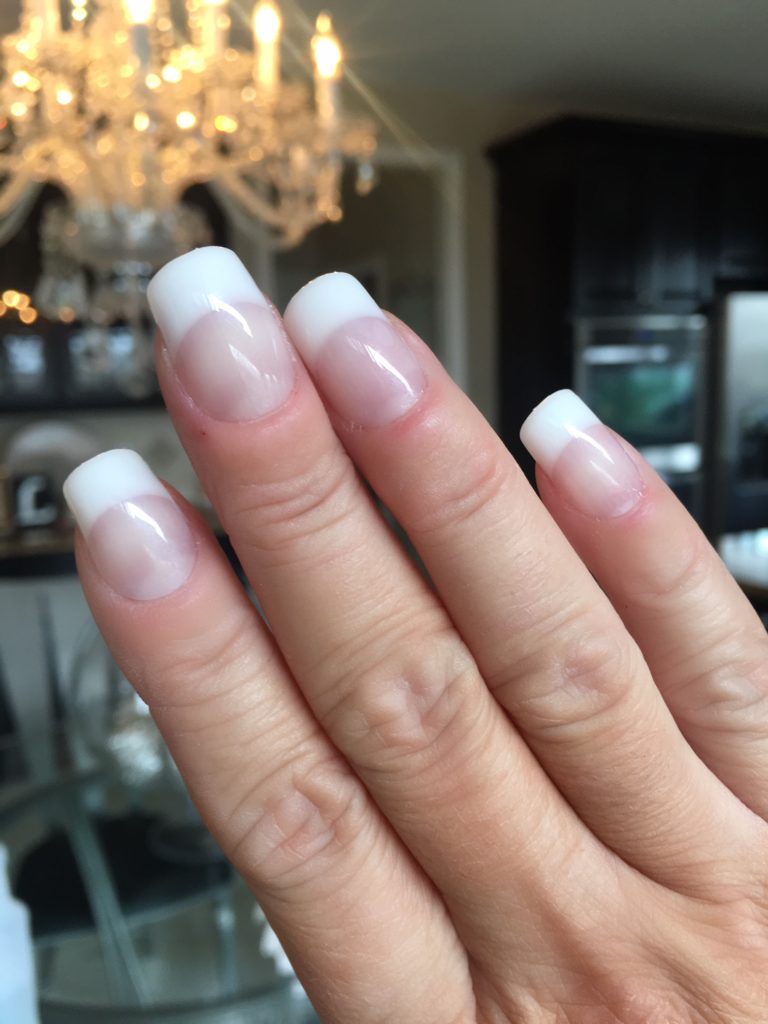
Here’s a step by step tutorial on how to apply Kiss Nails:
Step 1 – Trim and File Nails
Before applying, make sure you trim back cuticles, trim nails and gently file the top of the nails to gently eliminate oils or residue on the nails that may stop the glue from adhering to the natural nail.
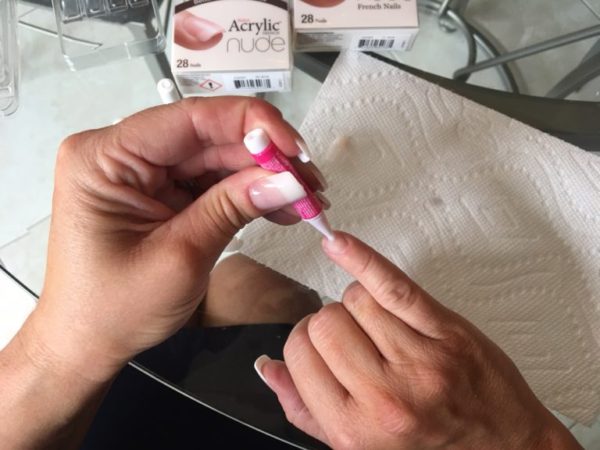
Step 2 – Apply Glue on Kiss Nails
The directions on the box advise you to apply glue on the back of the Kiss nail and then apply glue on the natural nail, press and hold. What works for me is to cover the entire natural nail with glue, then press the Kiss nail properly on top, in alignment with the cuticle, and then press and hold for 10 seconds. And, voilà!
Kiss is the world’s largest manufacturer and distributor of professional quality nail products. They became the first company to bring quality, professional nail care directly to our homes, creating easy-to-use, all-in-one kits so we can achieve salon results at home and my beautiful manicure is living proof. Today, the Kiss line of products has expanded to include nail care, nail jewelry, nail art, and manicure & pedicure tools. They also have great fake lashes I love using too! Today, Kiss Nails brands are available in over 90 countries worldwide. In our area, they can be found at Walgreens, Walmart, Bed Bath and Beyond, Target, Ulta, and Rite Aid stores and range from $4.99 to $7.99. Going to give them a try? Share a photo on Instagram and tag me @glamorousmoms. I’d love to see your pretty Kiss manicure!
